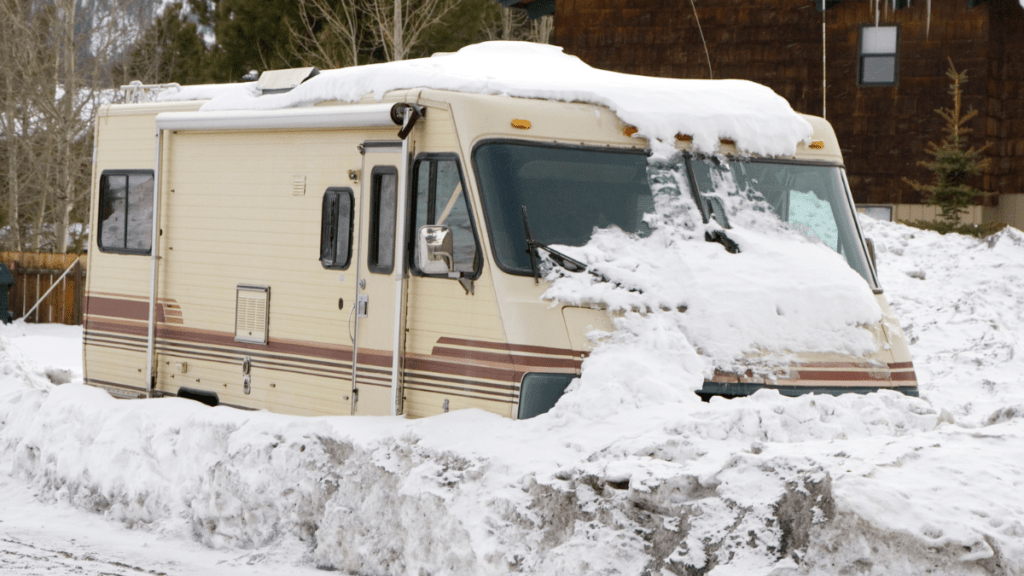
Begin by removing all solid waste from the composting chamber. Composting slows down significantly in cold weather, and leaving waste in the toilet could lead to freezing, which may damage the container or prevent proper decomposition.
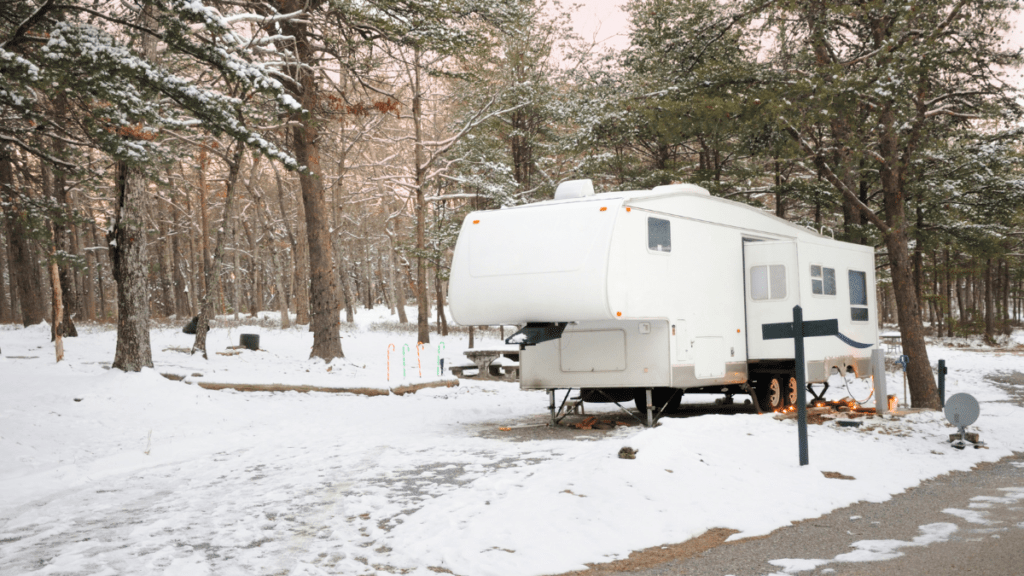
The liquid tank should be completely emptied and cleaned before storing your boat for the winter. Any residual liquid can freeze and expand, potentially causing cracks or leaks.
Check this post on how to clean Air Head composting toilet.
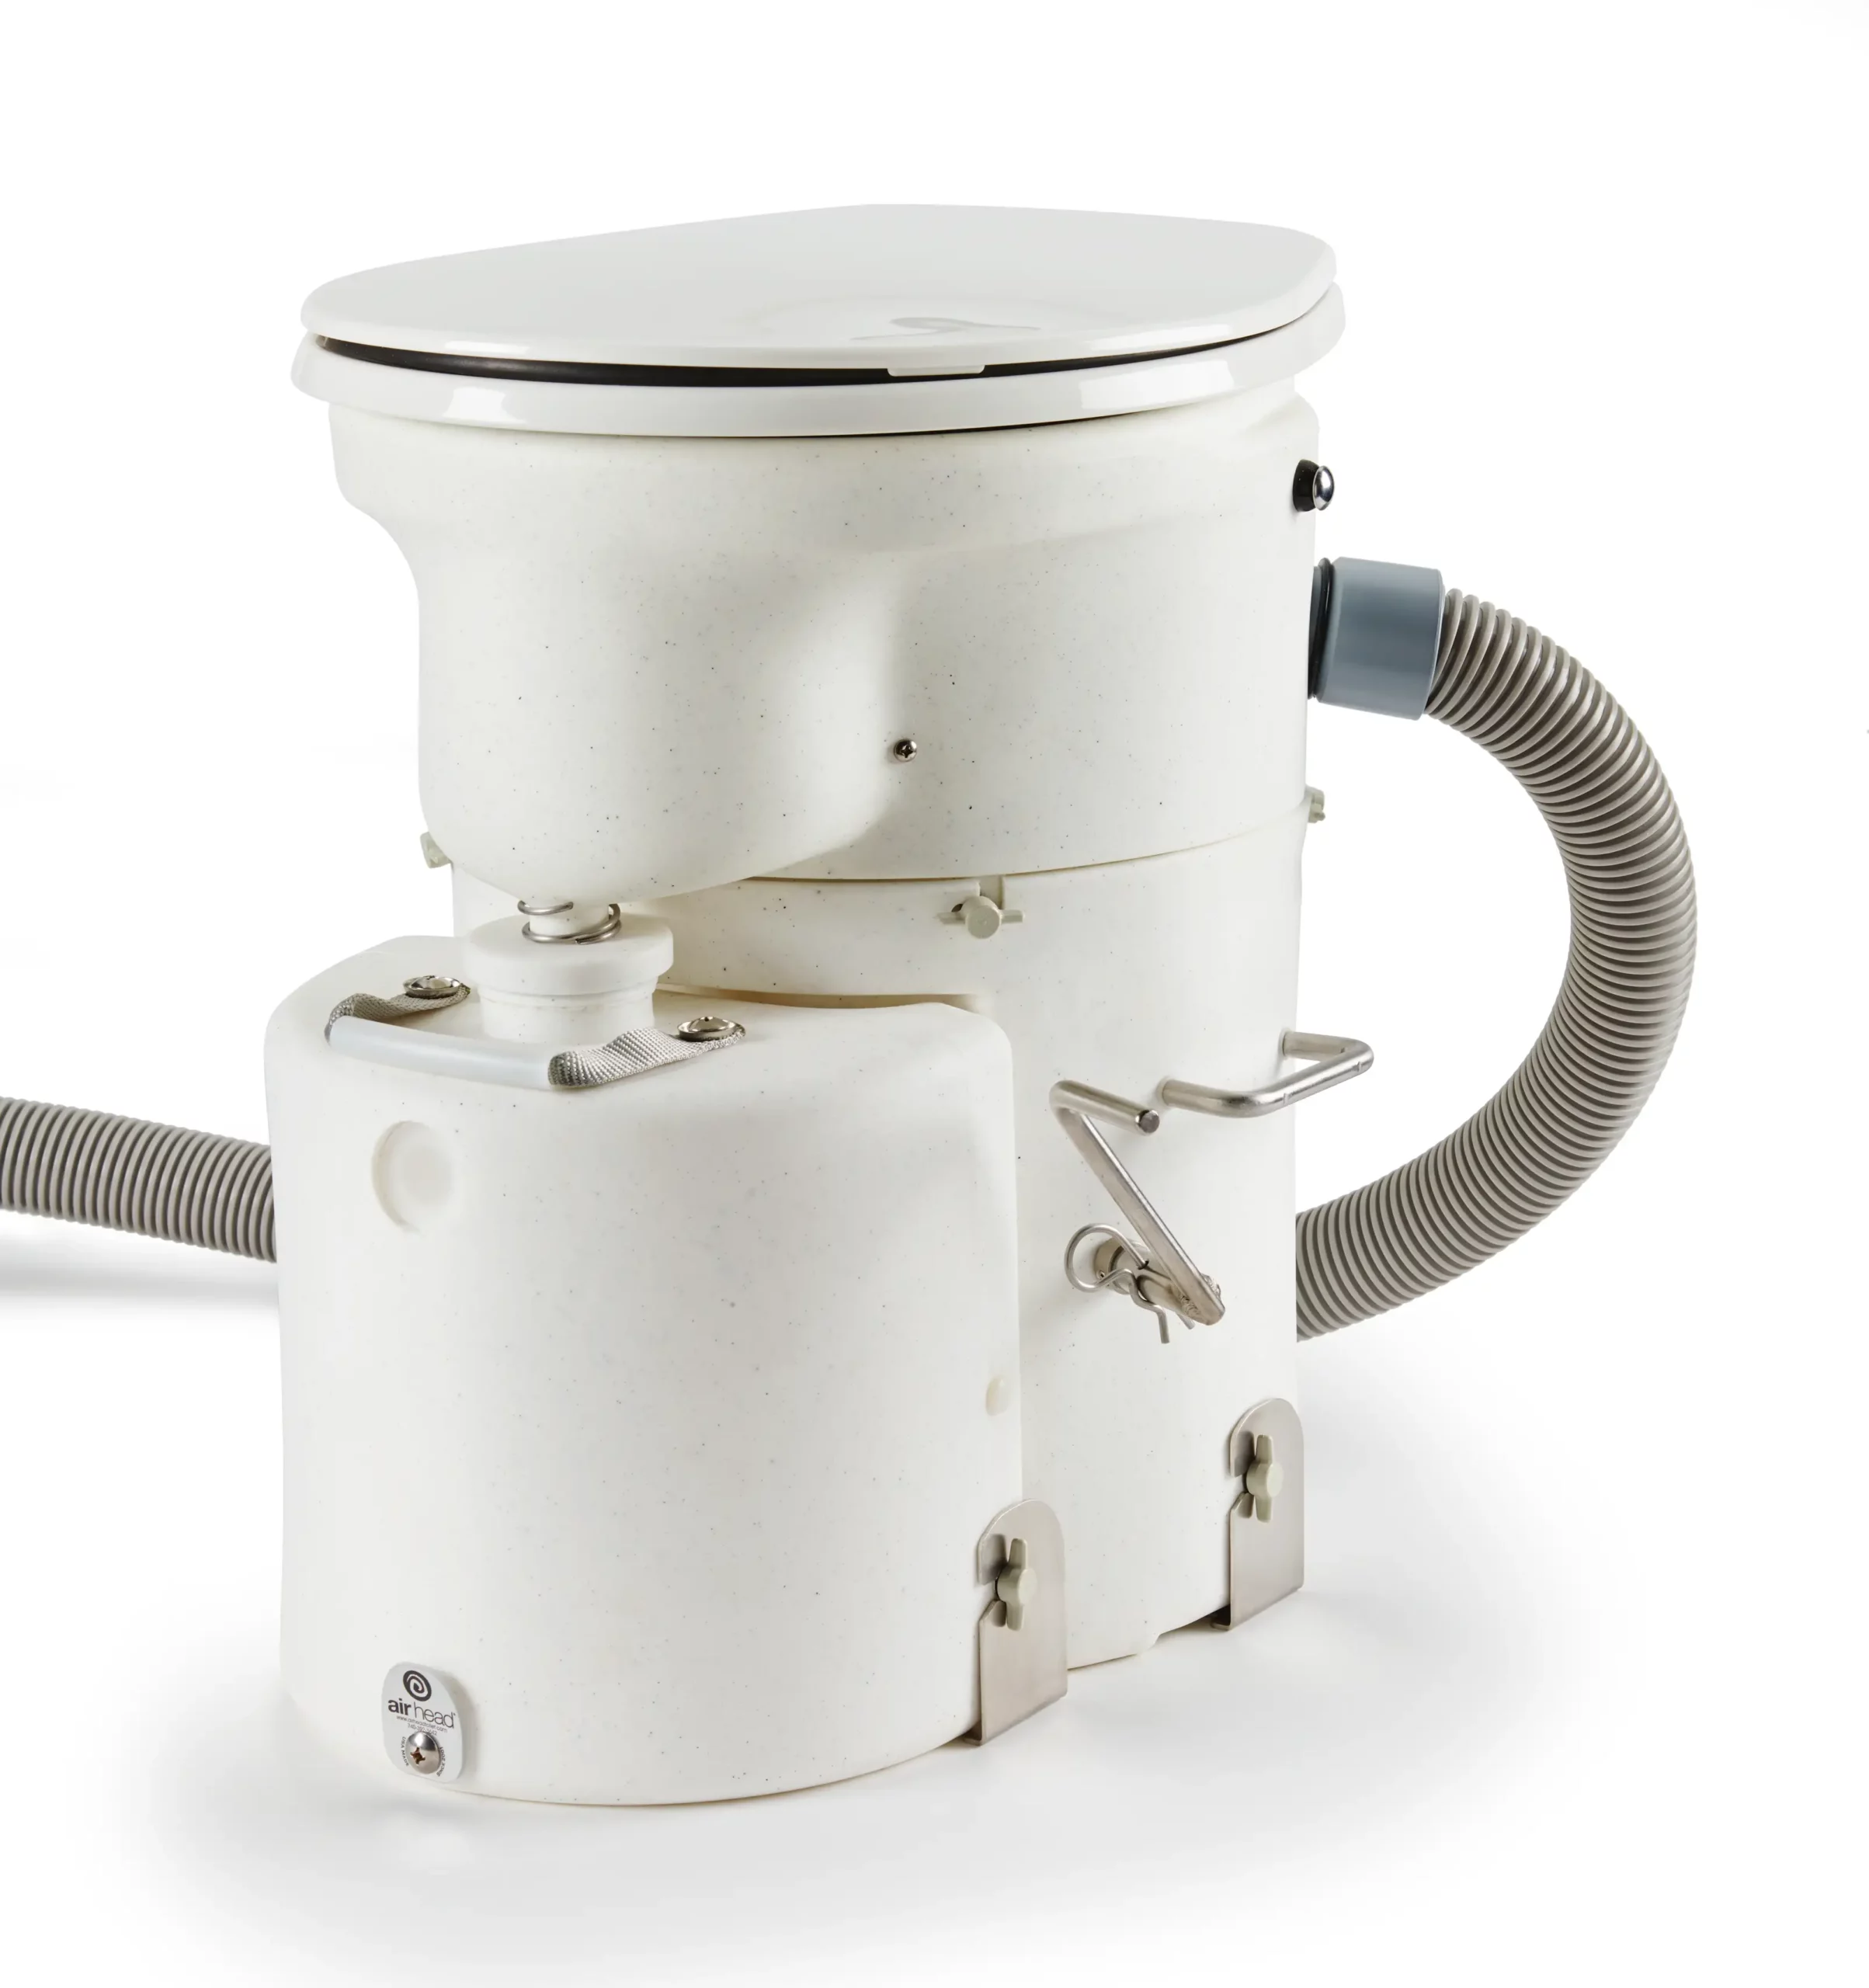
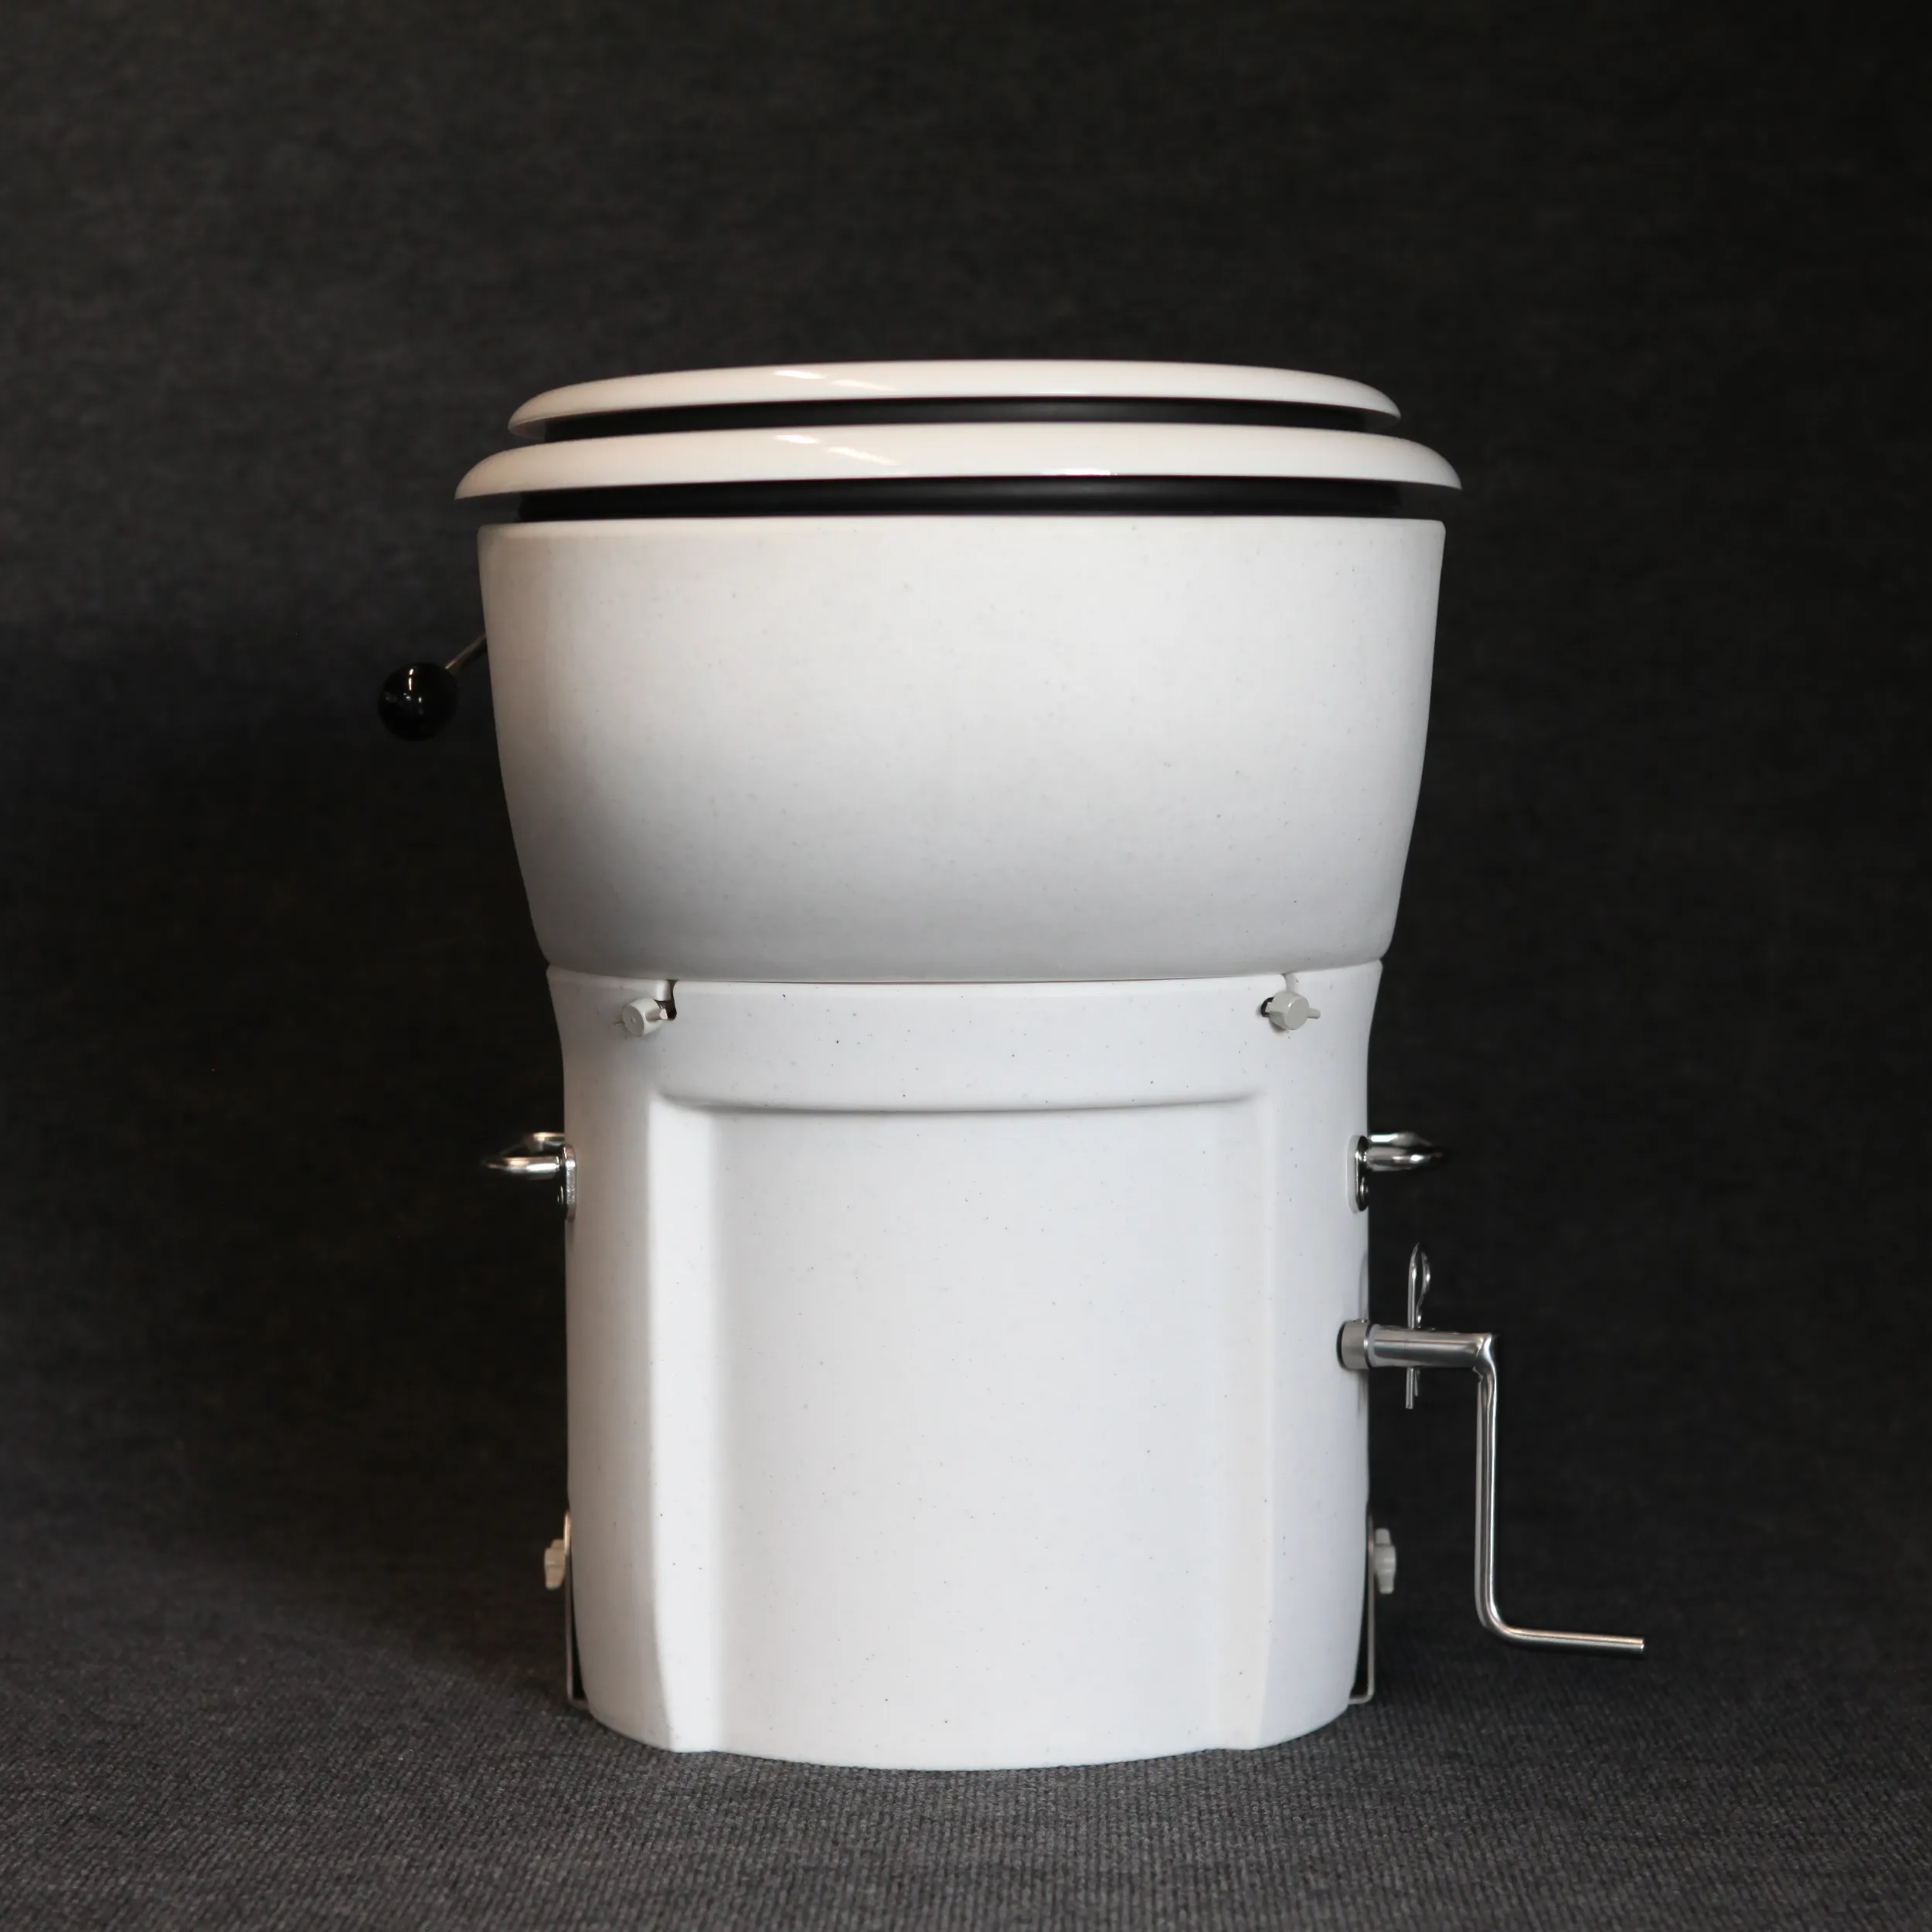
Take time to clean all components of the composting toilet, including the seat, agitator, and ventilation system. This ensures no waste residue or odors linger during storage.
If your composting toilet uses peat moss, coco peat, or another organic material as a bulking agent, remove any leftover material from the composting chamber.
The ventilation system is vital for odor control and airflow in a composting toilet. During winterization:
Once cleaned and emptied, secure the toilet for the winter:

Begin by removing all solid waste from the composting chamber. Composting slows down significantly in cold weather, and leaving waste in the toilet could lead to freezing, which may damage the container or prevent proper decomposition.
The liquid tank should be completely emptied and cleaned before storing your boat for the winter. Any residual liquid can freeze and expand, potentially causing cracks or leaks.
Check this post on how to clean Air Head composting toilet.
Take time to clean all components of the composting toilet, including the seat, agitator, and ventilation system. This ensures no waste residue or odors linger during storage.
If your composting toilet uses peat moss, coco peat, or another organic material as a bulking agent, remove any leftover material from the composting chamber.
The ventilation system is vital for odor control and airflow in a composting toilet. During winterization:
Once cleaned and emptied, secure the toilet for the winter: