Installing an Air Head Composting Toilet off-grid is one of the smartest moves for anyone living in a cabin, tiny home, RV, or boat. With the right setup, you’ll enjoy a clean, odor-free, and waterless solution that supports your independence and sustainability goals. This Air Head installation guide, we’ll walk through the best locations, essential parts, and pro tips that make your composting toilet system work flawlessly.
Why Air Head is Ideal for Off-Grid Installations
Before diving into installation, it’s worth noting why the Air Head is the go-to composting toilet for off-grid users:
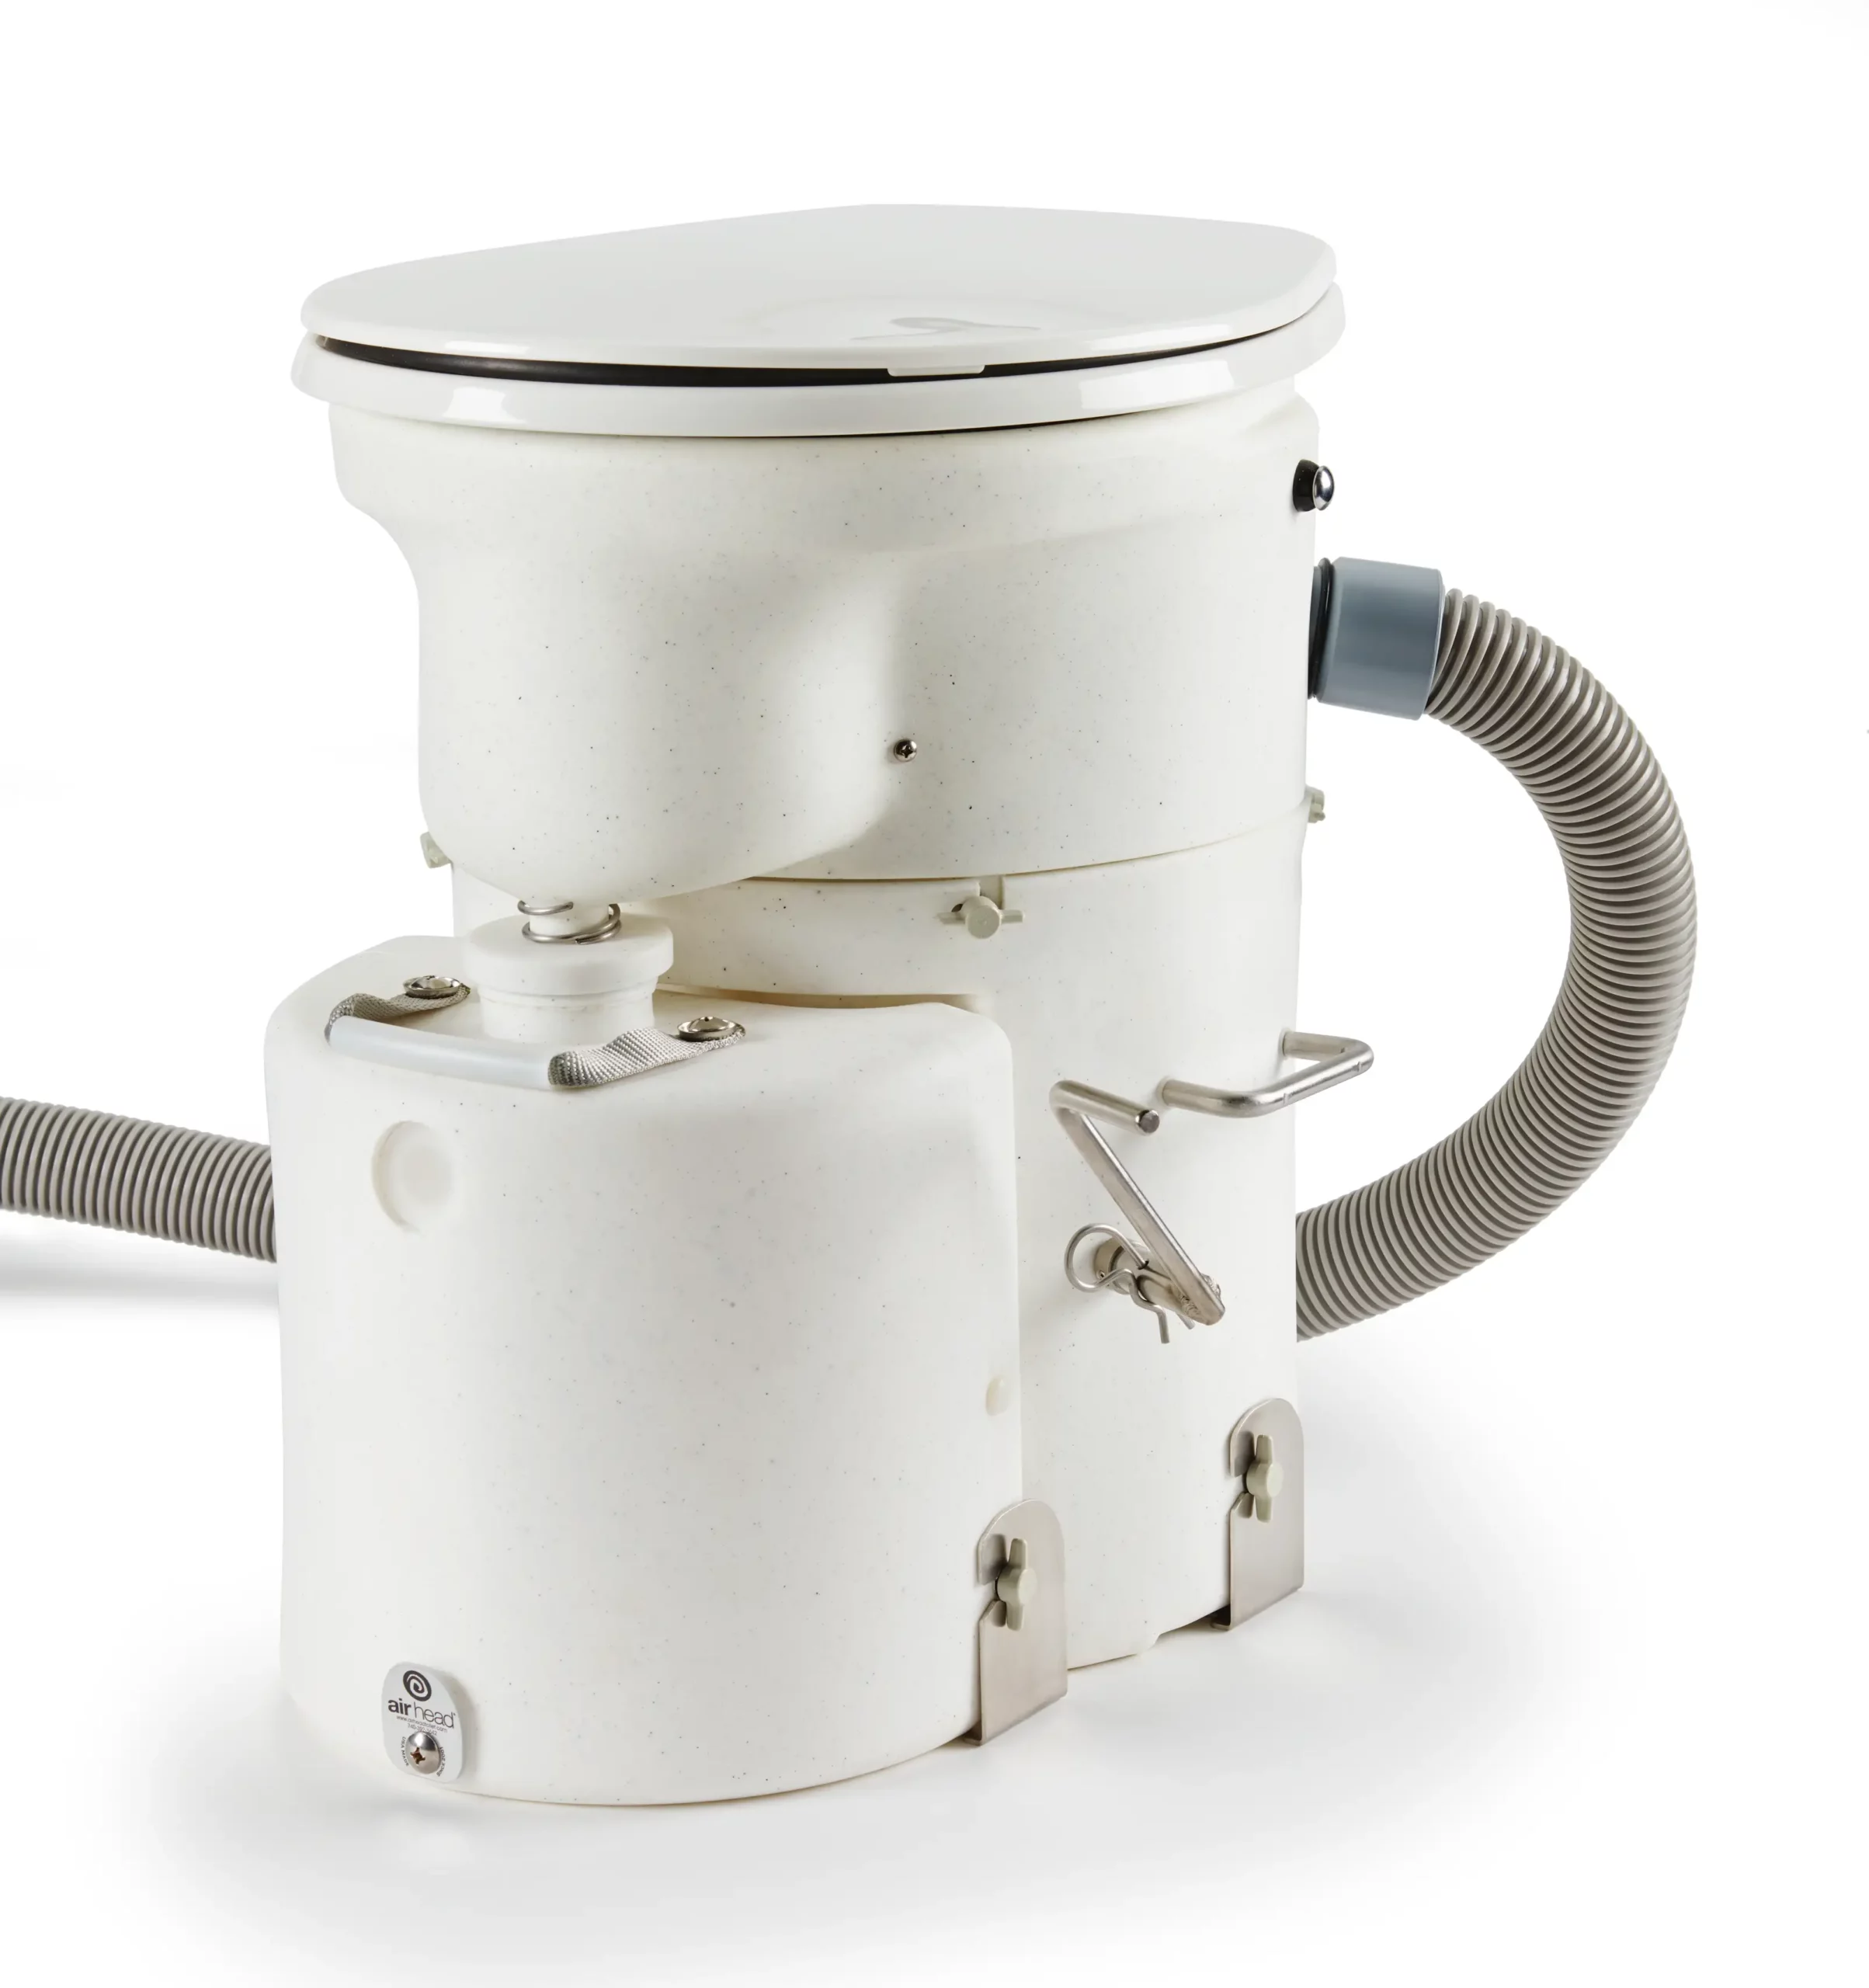
Waterless operation – no plumbing or septic required.
Compact design – perfect for small cabins, vans, or boats.
Odor-free ventilation – powered by a small fan system.
Long-term independence – reduces trips to pump-out stations or septic costs.
This flexibility makes installation straightforward, even in tight or unconventional spaces.
Air Head Installation Guide & Hacks
Best Locations for Off-Grid Installation
Where you place your Air Head matters for comfort and function. Here are the top choices:
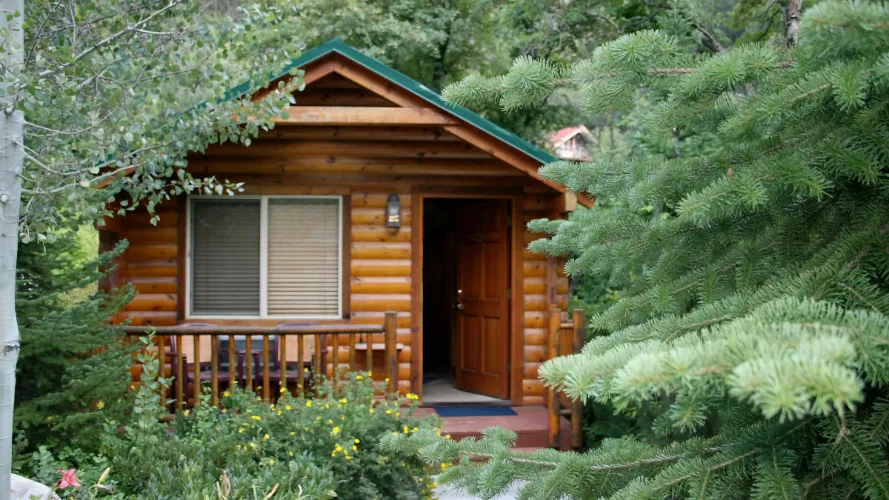
1. Cabins & Tiny Homes
Install in the bathroom corner or near an exterior wall for easy venting.
Ensure access to an outlet or 12V battery for the fan.
Pair with an extra solids tank or peat brickbundle for longer stays off-grid.
2. RVs & Camper Vans
Place where the old RV toilet used to be, using existing space.
Install near an outer wall or floor vent to route the exhaust hose.
Tight space? Use the Wrench Adapter for narrow installs.
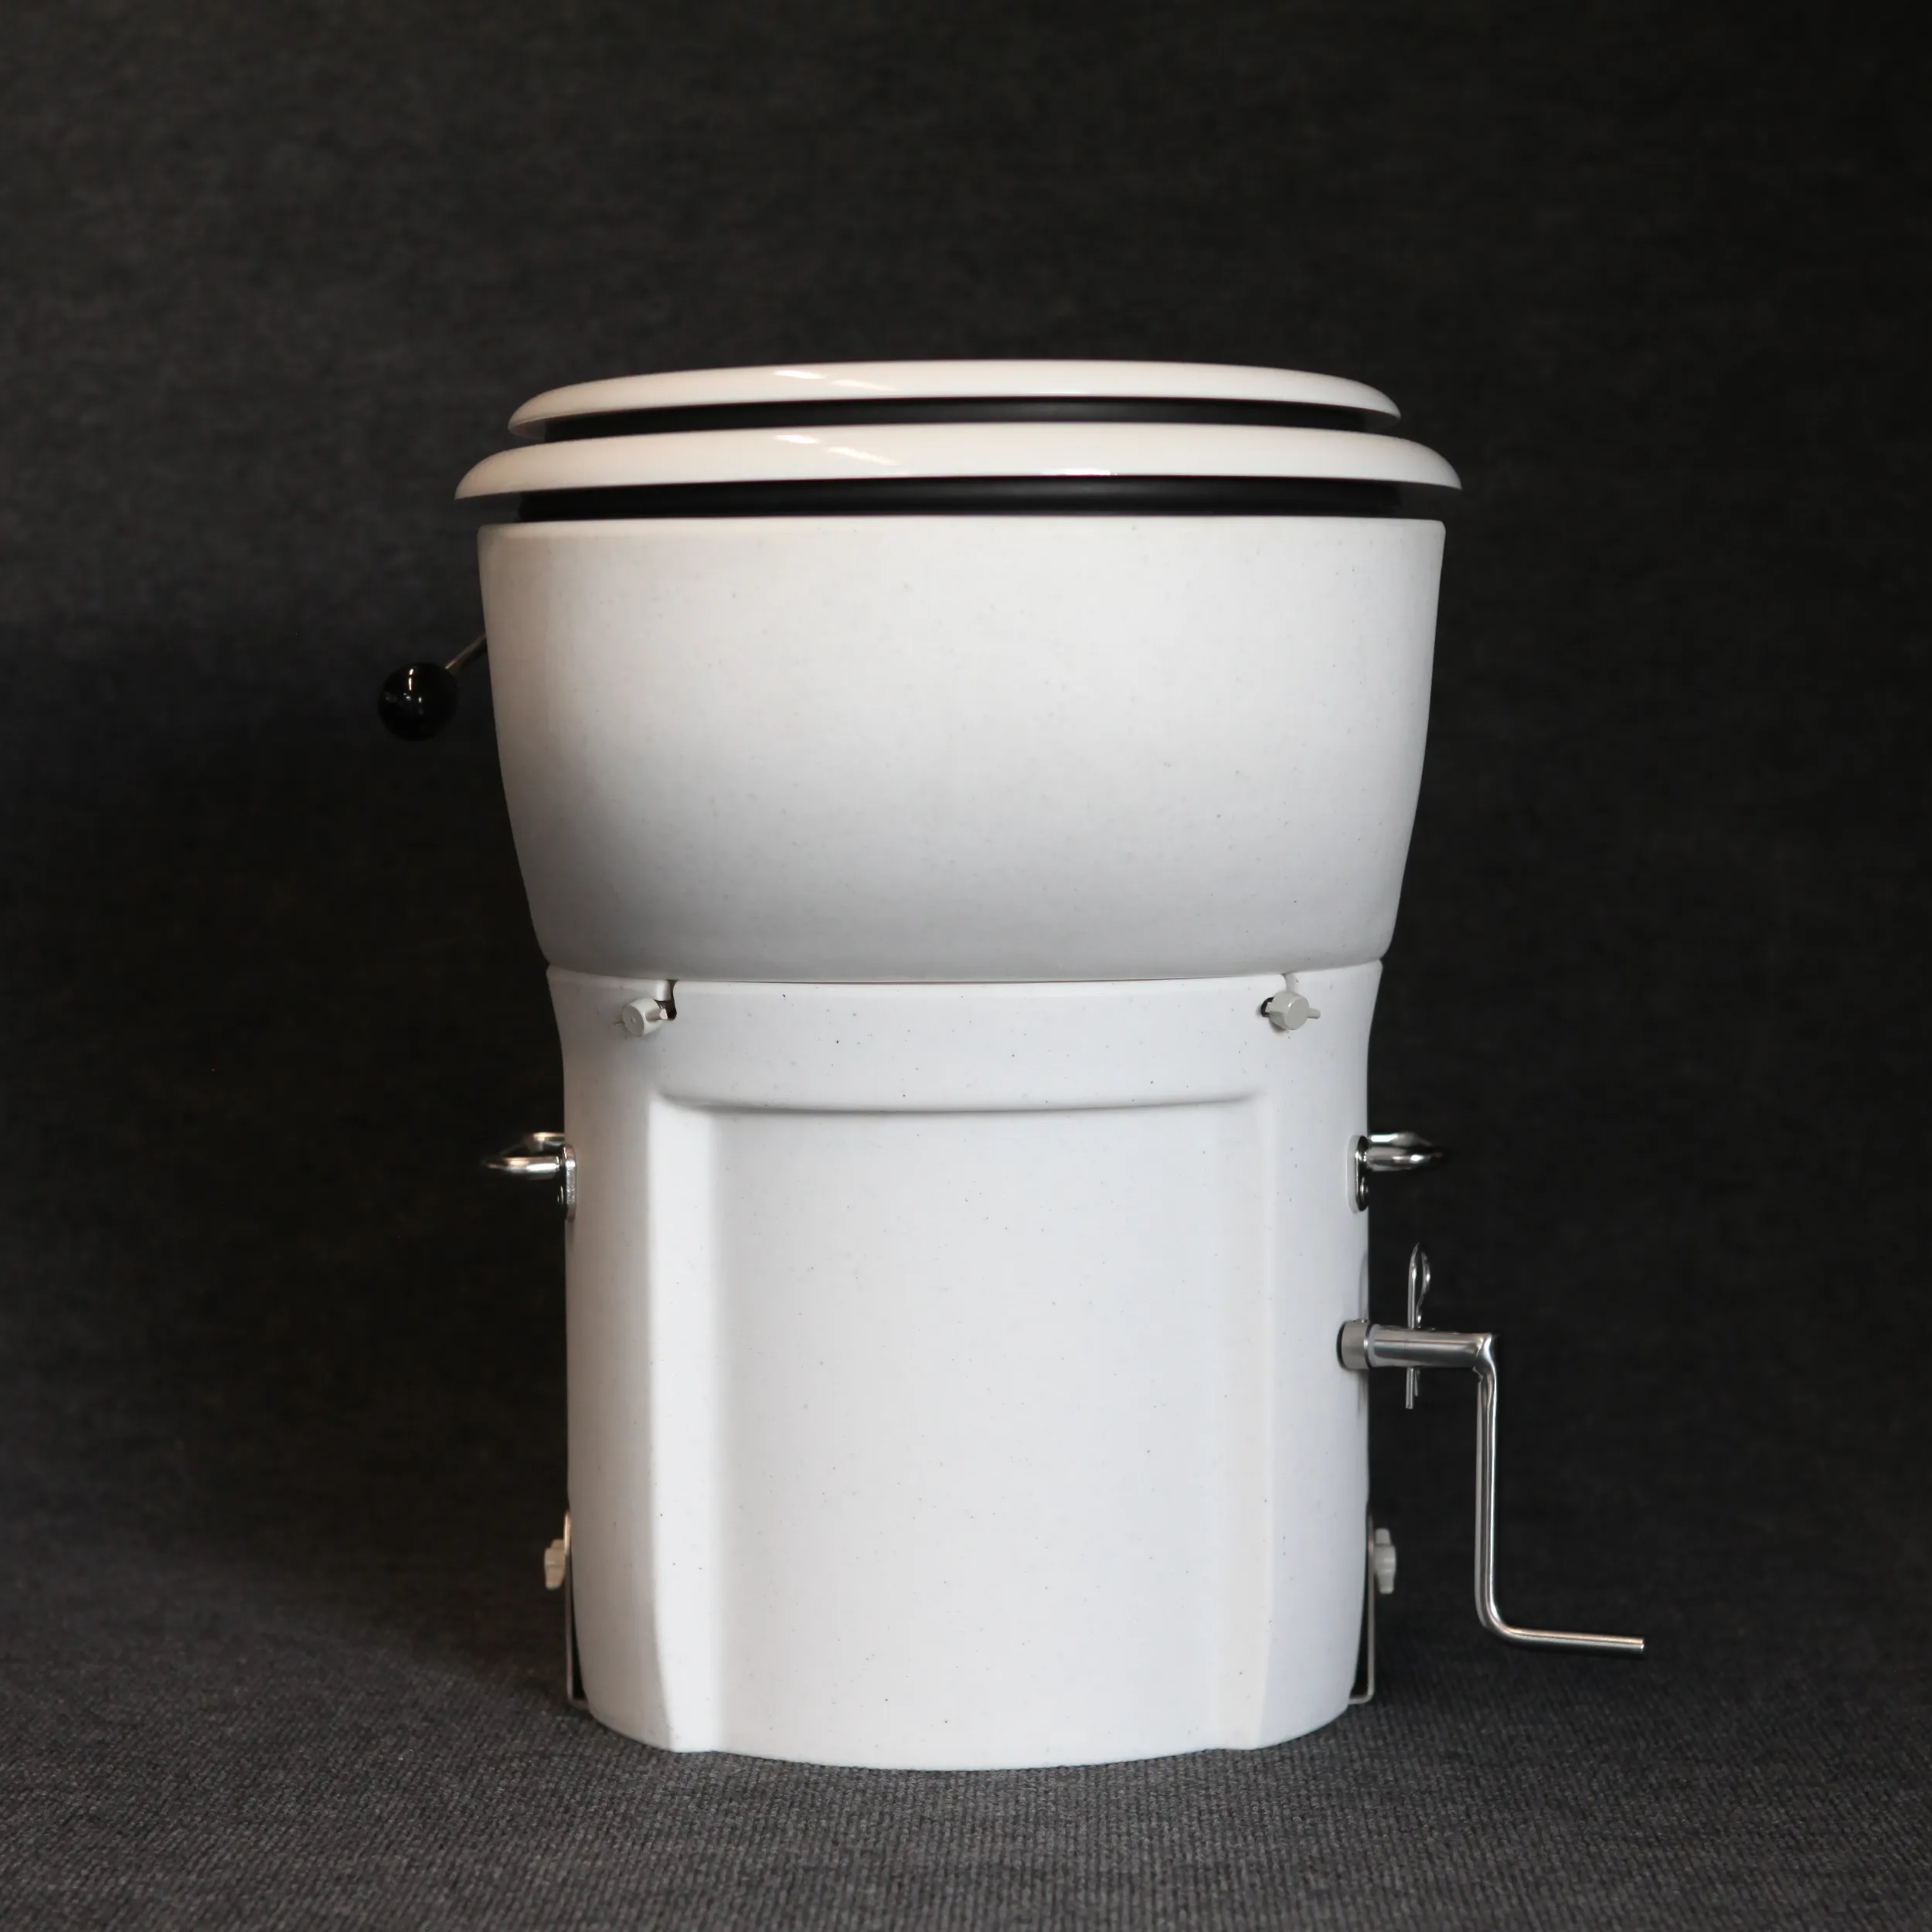
Choose the Location – Select a level, accessible space with ventilation access.
Secure the Base – Bolt down the toilet using the supplied brackets.
Attach Vent Hose – Run the hose outside through the wall, roof, or deck.
Install an Intake or Insect Screen to protect airflow.
Add Sound Dampening Foam if fan noise is a concern.
Connect the Fan – Wire to 12V DC or use the 110V Transformer if on household power.
Prepare Composting Medium – Place a Coco Peat Brick or mix inside the solids tank.
Install Liquid Tank – Attach the 2-gallon or 1-gallon tank securely.
Test & Adjust – Turn on the fan, check for airflow, and ensure a tight seal.
Pro Air Head Installation Hacks
Maximize Airflow: Place the vent hose on the side of the cabin/tiny home that gets the most breeze.
Winter Tip: In cold climates, insulate the vent hose or add a second fan to prevent condensation.
RV Users: Use the Wrench Adapter for installs in narrow compartments.
Marine Hack: Install the fan slightly higher than the outlet to prevent backflow in rough seas.
Extended Trips: Keep an extra solids tank ready to swap out when full.
Optimize Your Off-Grid Bathroom Setup
With the right installation, your Air Head Composting Toilet becomes the ultimate off-grid bathroom solution. From cabins to RVs to boats, the system is easy to install, requires minimal upkeep, and gives you true independence from water and sewage systems.
❓ How do you install an Air Head Composting Toilet off-grid?
Installation involves securing the base, routing the vent hose outside, connecting the fan to 12V or 110V power, and preparing the solids tank with coco peat bricks. It requires no plumbing or septic hookup.
❓ Where is the best place to install an Air Head in a cabin?
Install your Air Head in a bathroom corner near an exterior wall for easy venting. Make sure you have access to a power source for the fan and enough room to remove the liquid tank.
❓ Can I install an Air Head Composting Toilet in an RV?
Yes. The Air Head is designed for RVs and camper vans. It fits where a traditional RV toilet would be, with the vent routed outside. Accessories like the Wrench Adapter make installation easier in tight spaces.
❓ How do you install the vent hose on a boat?
On boats, run the vent hose through a deck or hull wall, and add an insect screen or extra fan shroud to maintain airflow. Position the vent higher to avoid water backflow in rough seas.
❓ What accessories help with off-grid installation?
Useful add-ons include an extra solids tank, 110V transformer (for cabins), right-angle fan shroud (for tight spaces), and paper carriers. These make installation and long-term use easier.